How Long to Bake Thin Chicken Breast
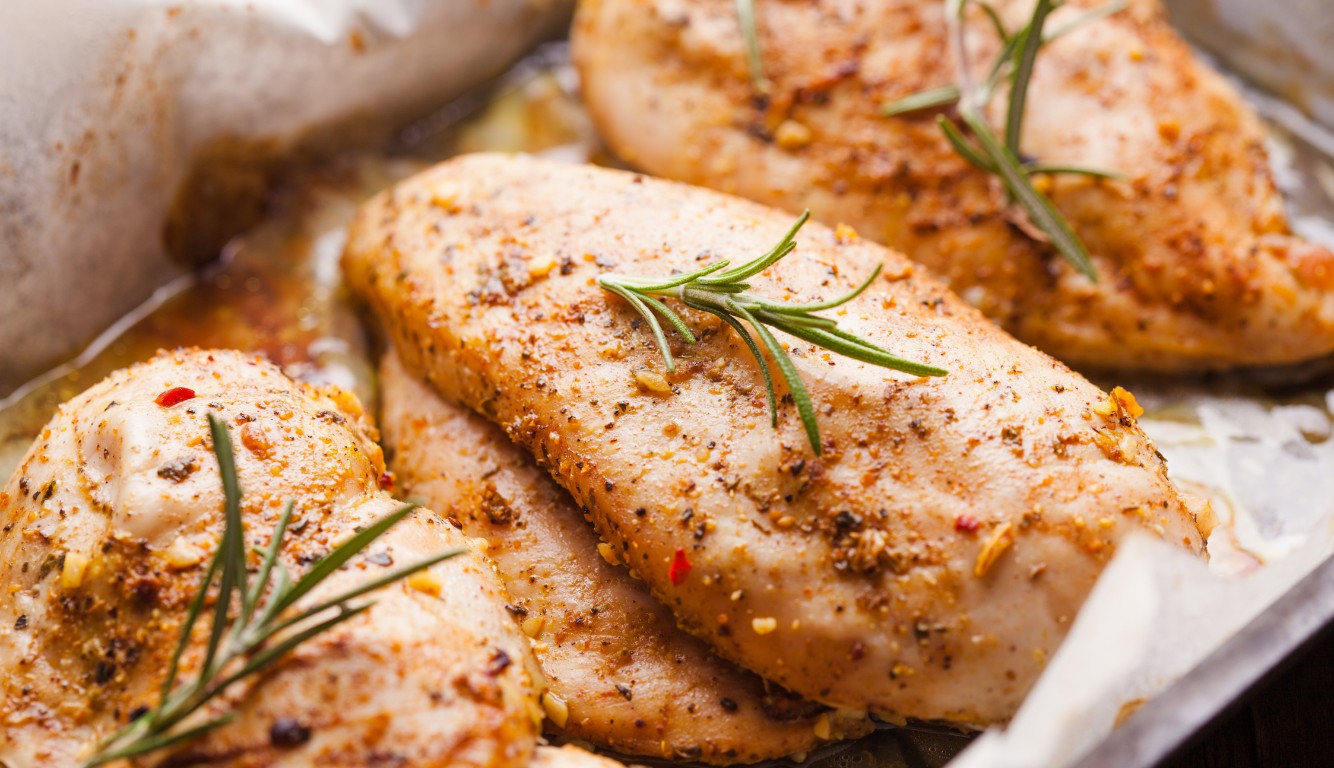
Baking thin chicken breasts is a quick and easy method to prepare a lean protein that complements numerous dishes. When baking, the key is to know the exact time required to ensure the meat is cooked thoroughly yet remains tender and juicy. Overcooking can result in dry, tough meat, while undercooking poses health risks.
How Long to Bake Thin Chicken Breast
The length of time needed to bake thin chicken breasts at the appropriate temperature can vary, but a general guideline is between 15 and 20 minutes, which is contingent on factors like oven temperature and chicken thickness.
Achieving the perfect bake begins with preheating your oven. For thin chicken breasts, setting the oven between 350°F to 425°F is ideal, which allows for a quicker cooking time while retaining moisture. Prior to baking, it’s advisable to season the chicken or use a marinade to enhance flavor, and to place the breasts on a lined baking sheet without overlap, which promotes even cooking. It’s always beneficial to use a meat thermometer to check that the internal temperature has reached 165°F, ensuring the chicken is safe for consumption. Learn how to bake chicken breast in the oven flawlessly every time with a bit of practice and attention to detail.
Preparing Your Kitchen for Baking
Before starting any recipe, proper preparation ensures a smoother process and a better outcome. When baking thin chicken breasts, this primarily involves preheating your oven for even cooking and seasoning the meat for maximum flavor.
Preheating the Oven
To preheat your oven, set it to 425°F (218°C). This high temperature is ideal for baking thin chicken breasts, as it allows them to cook quickly and develop a nicely browned exterior. Check that the oven racks are positioned so that the chicken will be in the center of the oven, which promotes even cooking. Wait for your oven to reach the set temperature before placing your chicken inside; most ovens will beep or display a light to indicate when they’re properly preheated.
Seasoning the Chicken
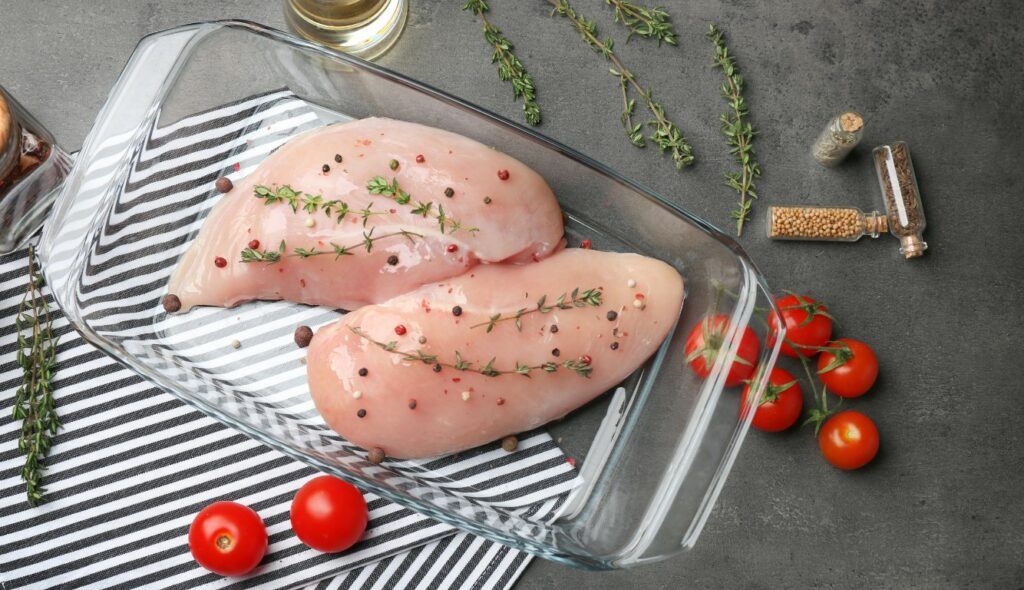
For flavorful chicken, seasoning is key. Begin with a base of salt and black pepper, adjusted to your taste. Add olive oil to help the seasoning adhere to the meat and add richness. Garlic powder, paprika, and Italian seasoning blend can introduce layers of flavor. For added depth, consider preparing a marinade with your choice of spices, letting the chicken soak in it for at least 2 hours or, ideally, overnight.
- Basic Seasoning Mix:
- 1 tsp salt
- 1 tsp black pepper
- 1 tbsp olive oil
- ½ tsp garlic powder
- 1 tsp paprika
- 1 tsp Italian seasoning
Rub the seasoning mix onto both sides of the chicken breasts, ensuring an even coat. If using a marinade, ensure that the chicken is fully submerged for the flavors to penetrate thoroughly. It’s important to allow the seasoned or marinated chicken to come to room temperature, which promotes even cooking.
Cooking Techniques for Thin Chicken Breast
When it comes to cooking thin chicken breast, it’s crucial to ensure even cooking and optimal flavor. Paying attention to temperature and time is key when baking, just as using the right tools and methods is vital for alternative techniques.
Baking Considerations
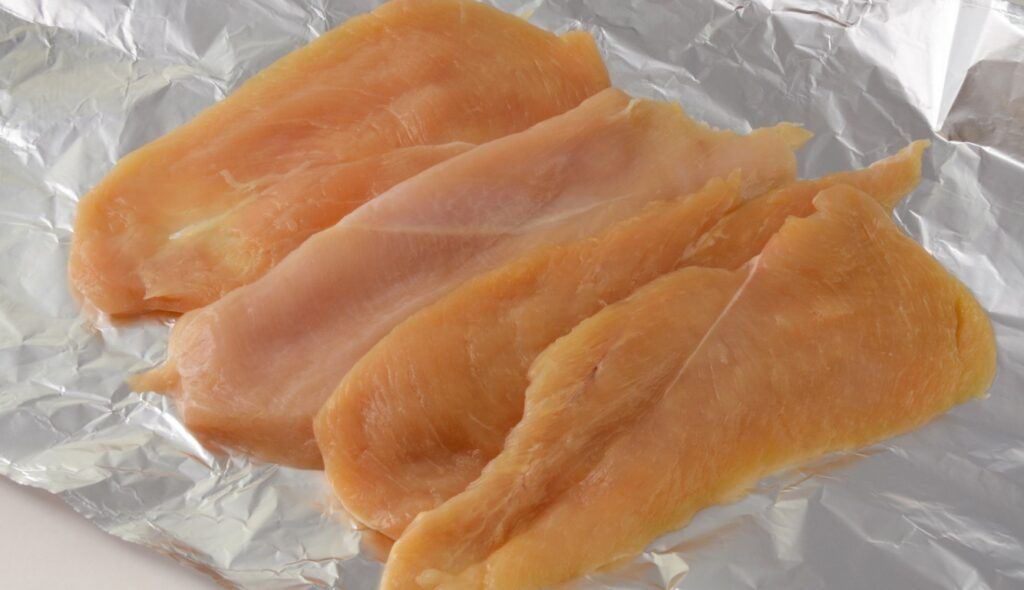
Baking thin chicken breast requires careful monitoring, as the reduced thickness means it will cook faster than a standard breast. Preheat your oven to the suggested temperature—usually between 350°F to 400°F. Lay the chicken breasts flat on a baking sheet, and for easy cleanup and to prevent sticking, you can line the sheet with either parchment paper or aluminum foil.
Here are a few tips for optimal baking:
- Don’t Overlap: Arrange chicken pieces in a single layer, not overlapping, to promote even cooking.
- Temperature Check: Use a meat thermometer to ensure the internal temperature reaches 165°F, which is safe for poultry. Thin fillets generally take about 15-20 minutes to bake, but always verify with the thermometer.
- Rest Before Serving: Allow the chicken to rest for a few minutes after baking. This helps to lock in the juices, making your chicken tender and moist.
Learn the exact cooking times and oven temperatures for thin chicken breasts.
Alternative Cooking Methods
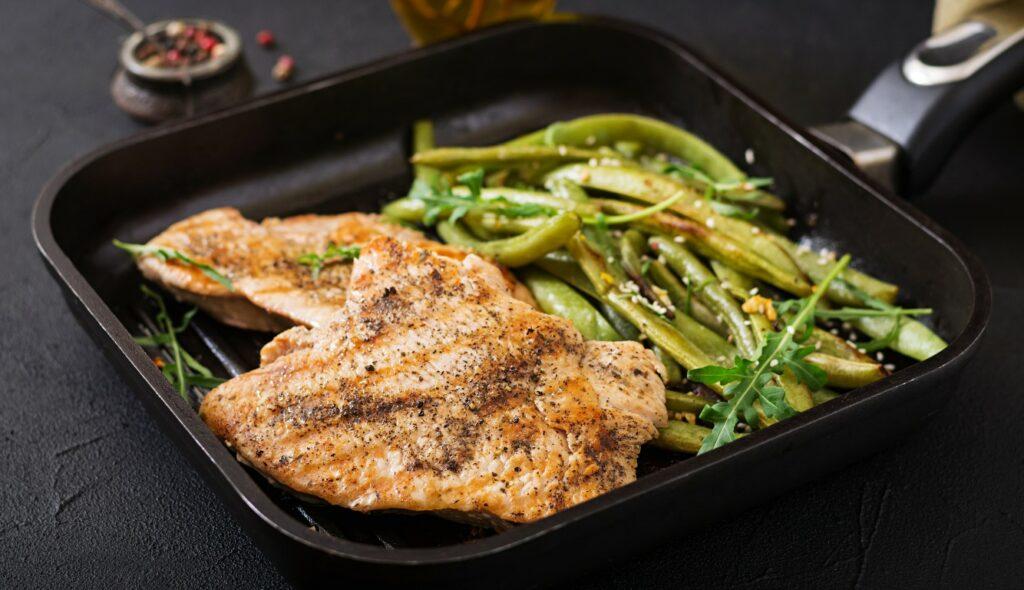
Apart from baking, thin chicken breasts can be cooked using a variety of other methods. Here are some alternative techniques to consider:
- Pan Frying: Heat oil in a pan over medium-high heat and fry the breasts until golden brown on each side. It generally takes about 3-4 minutes per side. Keeping your chicken moist is easier if you cover the pan while frying.
- Searing: Preheat a skillet over high heat and sear the fillets quickly on each side. A beautiful crust will form, adding flavor and texture.
- Breading: Dipping chicken in egg and coating with panko bread crumbs before cooking can add a satisfying crunch to your meal. After breading, you can bake or fry as preferred.
Each method provides a unique texture and flavor to the chicken breast, so experiment to find your favorite method.
Explore various techniques to fry and sear thin chicken breasts.
Ensuring Perfect Doneness
The key to achieving perfect doneness in baking thin chicken breasts is managing cooking times and temperatures to ensure the meat is tender, moist, and juicy without overcooking. Using an instant-read thermometer will help you monitor the internal temperature for optimal results.
Checking Internal Temperature
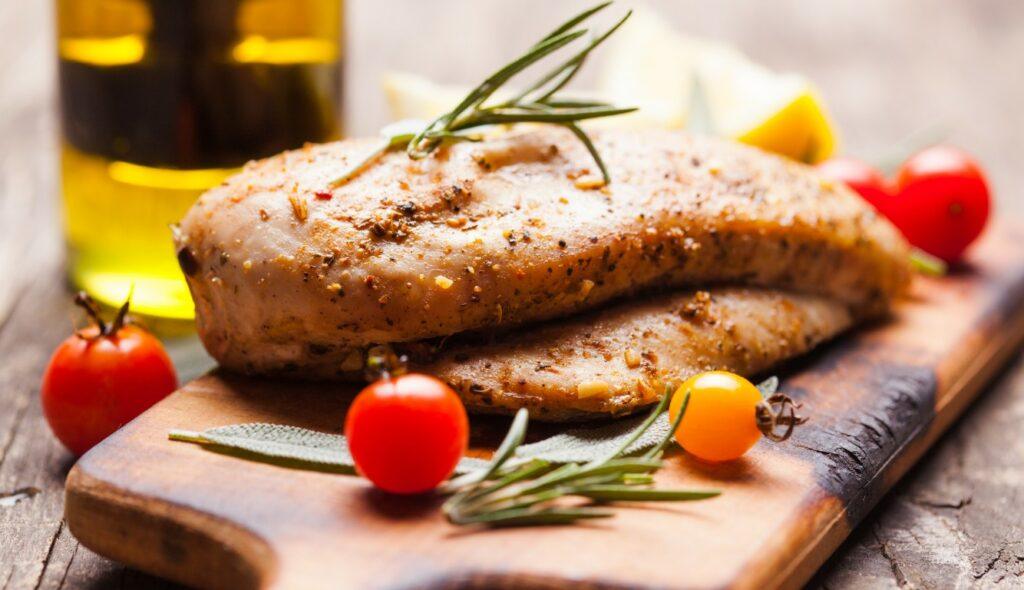
The most crucial factor in determining chicken breast doneness is its internal temperature. You should aim for an internal temperature of 165°F (74°C), checking by inserting an instant-read thermometer into the thickest part of the chicken. The temperature check should be done towards the end of cooking to avoid any guesswork. If the thermometer reads 165°F, you can be confident the chicken is fully cooked, eliminating any harmful bacteria while maintaining a tender texture.
- Ideal temperature: 165°F (74°C)
- Tool: Instant-read thermometer
- Where to check: Thickest part of the chicken
Avoiding Overcooking
To prevent overcooking your chicken, which can lead to a dry and tough texture, remove the chicken from the oven just as it reaches the desired internal temperature. Resting the chicken for a few minutes after baking is essential; this allows the juices to redistribute, ensuring that each bite is as moist and juicy as possible. Keep in mind the chicken’s temperature will continue to rise slightly as it rests, typically about 5°F, which accounts for carryover cooking.
- Action: Remove from oven at 165°F
- Rest time: A few minutes for juices to redistribute
- Avoid: Prolonged cooking that leads to dryness
Remember, uniform thickness in your chicken breasts promotes even cooking, reducing the risk of parts being overcooked while others remain pink. For consistency in doneness and texture, flatten the chicken breast to an even thickness before cooking.
Serving and Pairing
When your thin chicken breast is perfectly baked, complementing it with the right sides can transform your dish into a flavorful and balanced meal. Choosing sides that enhance the chicken’s flavor and add nutritional value is key.
Accompaniments and Side Dishes
For a healthy and satisfying meal, pair your chicken with a salad brimming with fresh vegetables. The freshness of the salad balances the richness of the meat, and you can dress it lightly with a vinaigrette to keep the calories in check. Here are some side dishes that will round off your meal:
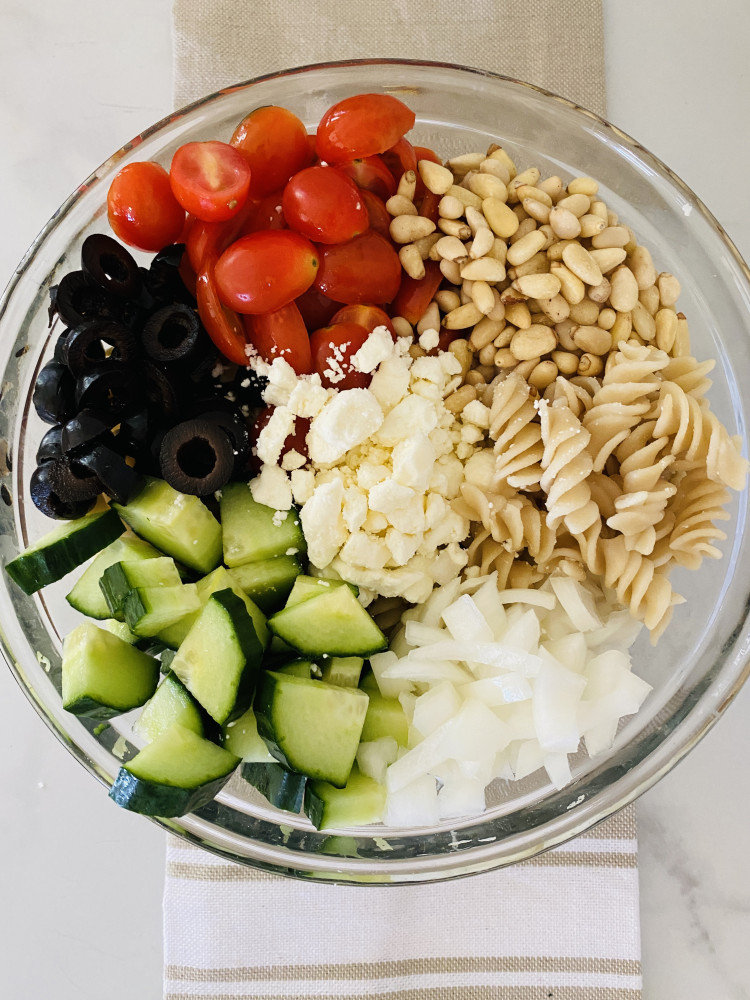
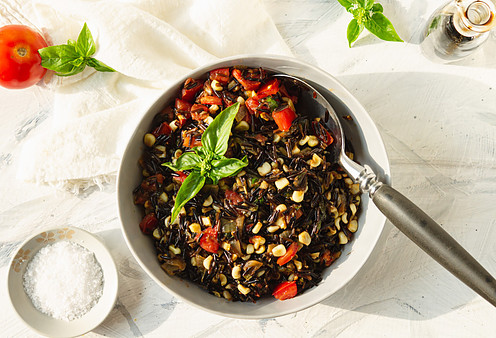
- Salads: Opt for a Greek salad or a quinoa salad for a hearty yet healthy side.
- Vegetables: Roasted vegetables with herbs accentuate the chicken’s flavor without overpowering it.
- Starches: A small serving of mashed potatoes can add creaminess and comfort to your meal.
- Pasta: Integrate whole-grain pasta with a light sauce to keep the meal nutritious.
Remember to consider the moisture of your side dishes as well. While the chicken is the protein centerpiece, the sides should bring contrasting textures and flavors to the plate, enhancing the overall experience.
Storing Leftovers
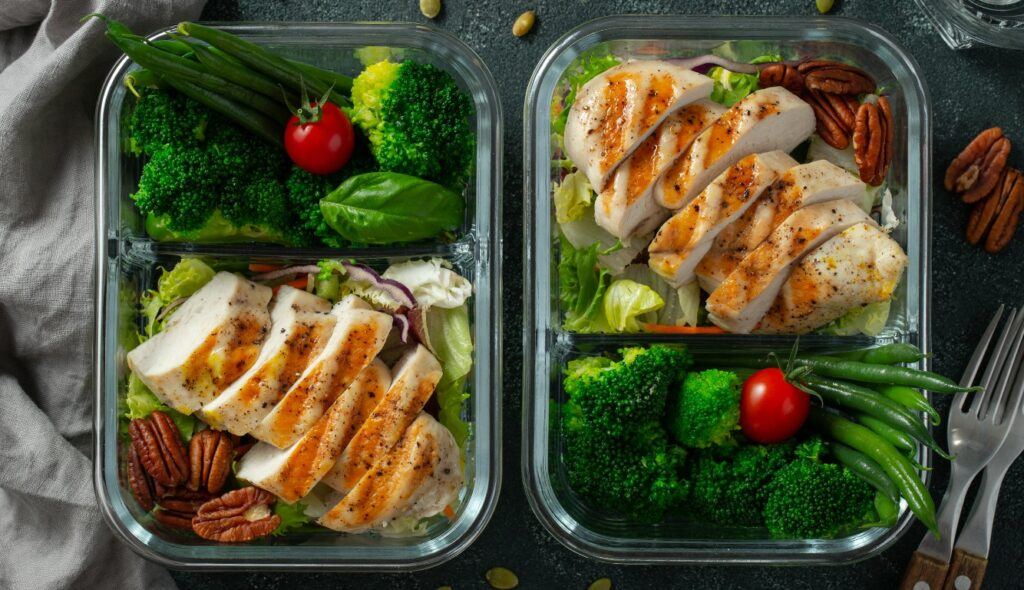
If you have leftover chicken, store it properly to maintain its moisture and flavor for future meals. Ensure your chicken has cooled before sealing it in an airtight container. It will stay good for 3-4 days in the refrigerator. Here’s how you can repurpose those leftovers:
- Meals for Later: Chop up the chicken and incorporate it into meal prep bowls for a quick lunch.
- Sandwiches: Slice the chicken and use it in sandwiches or wraps for a satisfying next-day lunch.
- Salad Topping: Adding cold, sliced chicken to salads can bring a pleasant protein boost.
Always remember that your leftovers should be reheated only once and brought to the proper temperature to ensure food safety.

